Build a secure API with Auth0, ExpressJS and AngularJs

Photo by Markus Winkler on Unsplash · 31/8/2016
Many modern projects separate the backend from the frontend user interface. The bakend usually handles incoming requests and responses with some information in JSON or XML.
When you are working with an architecture like this, your API needs to be exposed in a secure way and here is where Auth0 will simplify your design.
In this post I’m going to explain how I have integrated a website made with AngularJS with an API using ExpressJS and secured with Auth0.
The application
I’m supposing you know how AngularJS and ExpressJS work because in this example I want to focus on how I have integrated all of them with Auth0 to provide a secure access.
In this example I’m going to use a very simple todo-list application where an authorized user will see a list of tasks.
Before starting, you have to know all the code used in this example and many more has been released in Github.
To start this project, create a new folder and start an npm project:
mkdir todo-list-auth0
cd todo-list-auth0
npm init
Creating an API on Auth0
Before building our example, we need to create an account on Auth0. I’ve chosen Auth0 because it is very easy to integrate it and if offers an account for APIs with up to 7.000 regular active users. Take into account that in this example I’m using just a few features of Auth0, for larger developments take a look to its documentation.
I suppose you already have an account in Auth0 and you are right now on your dashboard.
- Click on the left in APIs > Create API
- Write a name, e.g: “todo-list-auth0”
- Write an identifier, I recommend using a domain like name but it doesn’t have to be a real domain, e.g: “http://todo-list-auth0.com”
- Click on Create.

After creating our API we should add the domain name of our website to allowed-domain names. Our website will be http://localhost:8080 so we will have to add this domain name to the list of allowed domains.
- In the left sidebar of Auth0, Click on Client > todo-list-auth0 (Test client). This client has been created automatically when creating the API.
- Add http://localhost:8080 into Allowed Origins (CORS)
- Click on Save Changes
Building a simple API in Express
As I’ve said, this is a very simple API that responds a list of tasks on route http://localhost:3000/private/tasks. To build our API we need to install some dependencies
npm install --save express express-jwt corsAnd we will create a very simple route that will return a list of tasks:
// Dependencies
var express = require("express");
var jwt = require("express-jwt");
var cors = require("cors");

// Auth0 variables. Available in Clients > todo-list-auth0 (Test client)
var AUTH0_SECRET = "YOUR_AUTH0_SECRET";
var AUTH0_CLIENT_ID = "YOUR_AUTH0_CLIENT_ID";

// Creating the API
var app = express();

// Configuring JWT. This will check if a given token is authorized to use the
// API.
var jwtCheck = jwt({
  secret: new Buffer(AUTH0_SECRET, "base64"),
  audience: AUTH0_CLIENT_ID,
});

// This will return a list of tasks. To restrict access just for authorized
// users we have to add jwtCheck as a second parameter of app.get.
app.get("/private/tasks", jwtCheck, function (req, res) {
  res.json([
    {
      id: 0,
      title: "Clean the bathroom",
    },
    {
      id: 1,
      title: "Write a post in the blog",
    },
    {
      id: 2,
      title: "Become CEO of Google",
    },
  ]);
});

// Launching the API on port 3000
app.listen(3000);
console.log("API listening on port 3000");
Remember you have to use your own information instead of YOUR_AUTH0_SECRET and YOUR_AUTH0_CLIENT_ID.
Building a website to retrieve TODO-list
Now we have a secure API we need a website to request the task list and show it to the user. I’m going to use a simple website build with AngularJS and Express because, as I’ve done with the API I want to focus on the integration with Auth0 instead of the website itself.
Let’s start with the dependencies:
# AngularJS modules
npm install --save angular angular-aria angular-animate

# Auth0 modules
npm install --save angular-jwt angular-storage auth0-angular angular-route
1. Website main template
We need a main index.html to bootstrap the application.
<html lang="en">
  <head>
    <meta charset="utf-8" />
    <meta http-equiv="X-UA-Compatible" content="IE=edge" />
    <!-- Configuration for Auth0 -->
    <meta
      name="viewport"
      content="width=device-width, initial-scale=1.0, maximum-scale=1.0, user-scalable=no"
    />
  </head>
  <body data-ng-app="todoList">
    <!-- listCmp template to show the list -->
    <script type="text/ng-template" id="list-tmpl.html">
      <h1>TODO list</h1>
      <!-- What an anonymous users see. Just a button to login -->
      <div data-ng-if="!$root.isAuth">
        <p>Login to show a TODO list</p>
        <button data-ng-click="$ctrl.login()">Login</button>
      </div>
      <!-- What logged in users see. A list of tasks. -->
      <div data-ng-if="$root.isAuth">
        <ul data-ng-if="$root.isAuth">
          <li data-ng-repeat="item in $ctrl.items"
              data-ng-bind="item.title">
          </li>
        </ul>
        <button data-ng-click="$ctrl.logout()" data-ng-if="$root.isAuth">Logout</button>
      </div>
    </script>

    <!-- Instantiate main component to show a list of tasks -->
    <list-cmp></list-cmp>
    <!-- General purpose libraries -->
    <script src="./angular/angular.min.js"></script>

    <!-- AngularJS modules needed by Auth0-->
    <script src="./angular-jwt/dist/angular-jwt.min.js"></script>
    <script src="./angular-storage/dist/angular-storage.min.js"></script>
    <script src="./auth0-angular/build/auth0-angular.min.js"></script>
    <script src="./angular-animate/angular-animate.min.js"></script>
    <script src="./angular-aria/angular-aria.min.js"></script>
    <script src="./angular-route/angular-route.min.js"></script>

    <!-- Auth JS libraries -->
    <script src="//cdn.auth0.com/js/lock-8.2.min.js"></script>

    <!-- App files -->
    <script src="./index.js"></script>
    <script src="./auth-svc.js"></script>
    <script src="./list-cmp.js"></script>
    <script src="./list-svc.js"></script>
  </body>
</html>
In this index.html we:
- Create a template to be used by listCmp
- Inject all scripts needed. Pay attention because in line 43 we are including an external lock-8.2 library
2. Bootstrap of the AngularJS app
We need to create our AngularJS app todoList, inject main angular and Auth0 modules and set its configuration, we are doing it here:
// Declaring main module
angular
  .module("todoList", [
    // AngularJS general modules
    "ngRoute",
    // AngularJS modules needed by Auth0
    "ngAria",
    "ngAnimate",
    // Auth0 modules
    "auth0",
    "angular-storage",
    "angular-jwt",
  ])
  .config(function (authProvider) {
    authProvider.init({
      // This data is available in Auth0 dashboard > APIs > our api > Settings
      domain: "AUTH0_API_DOMAIN",
      clientID: "AUTH_CLIENT_ID",
    });
  });
As you can see above we are also configuring authProvider with our Auth0 configuration.
3. Auth0 service
This is the service managing all the integration with Auth0, it provides 3 methods:
- login: It shows an Auth0 popup that allows the user to signup in our website and login with an email and a password. After a login, token and profile returned from Auth0 is stored in localStorage.
- logout: Removes token and profile data from localStorage, this is just you need to logout a user.
// Injecting authSvc.
angular.module("todoList").factory("authSvc", authSvc);

/**
 * Main service to control the authentication of the user.
 */
function authSvc($location, $rootScope, auth, store) {
  /**
   * Shows an Auth0 popup to login a user. If the user is correctly
   * logged in, his profile and token returned by Auth0 is stored using
   * localStorage.
   */
  function login() {
    auth.signin(
      {},
      function (profile, token) {
        store.set("profile", profile);
        store.set("token", token);
        $rootScope.isAuth = true;
        $location.path("/");
      },
      function (error) {
        console.log(error);
      }
    );
  }

  /**
   * Removes token and profile information from localStorage and redirects to
   * the home.
   */
  function logout() {
    auth.signout();
    store.remove("profile");
    store.remove("token");
    $rootScope.isAuth = false;
    $location.path("/");
  }

  /**
   * Obtains the token of the user logged in.
   * @return {string} User token.
   */
  function getToken() {
    return store.get("token");
  }

  return {
    login: login,
    logout: logout,
    getToken: getToken,
  };
}
4. Main service listSvc
This service called listSvc is in charge of requesting our API a list of tasks. It is a very simple service with just a method .get() that is retrieving a promise to be resolved with a list of tasks.
// Injecting listSvc.
angular.module("todoList").factory("listSvc", listSvc);

/**
 * List service to request the API for a list of tasks.
 */
function listSvc($http) {
  /**
   * Obtains a list of tasks from the API
   * @return {Promise} To be resolved with an Array of tasks.
   */
  function get() {
    return $http({
      method: "GET",
      url: "http://localhost:3000/private/tasks",
    });
  }

  return {
    get: get,
  };
}
As you can see, get() method is using $http to launch a GET request against http://localhost:3000/private/tasks URL, where our API is responding.
5. Main component listCmp
This component named listCmp is the main component of this example. It contains the code to:
- Login/logout the user when buttons are clicked.
- Request listSvc to obtain tasks and loads them into scope.
- Sets a watcher to load tasks everytime user is logged in.
// Injecting main component to show the list.
angular.module("todoList").component("listCmp", {
  templateUrl: "list-tmpl.html",
  controller: listCmp,
  restrict: "E",
});

/**
 * Main component to show a list of tasks.
 */
function listCmp($rootScope, listSvc, authSvc) {
  var ctrl = this;

  /**
   * Logs in the user when login button is clicked.
   */
  ctrl.login = function () {
    authSvc.login();
  };

  /**
   * Logs out the user when logout button is clicked.
   */
  ctrl.logout = function () {
    authSvc.logout();
  };

  /**
   * Loads a list of tasks into scope.
   */
  function _loadList() {
    listSvc.get().then(function (response) {
      ctrl.items = response.data;
    });
  }

  // Watcher to reload the list when user changes his auth status.
  $rootScope.$watch("isAuth", function () {
    $rootScope.isAuth && _loadList();
  });

  // Loads lists of tasks when component is init.
  ctrl.$onInit = _loadList;
}
6. Testing all together
If we execute this code with just two services (listSvc and authSvc) and a component (listCmp) we will see an app with a login button.
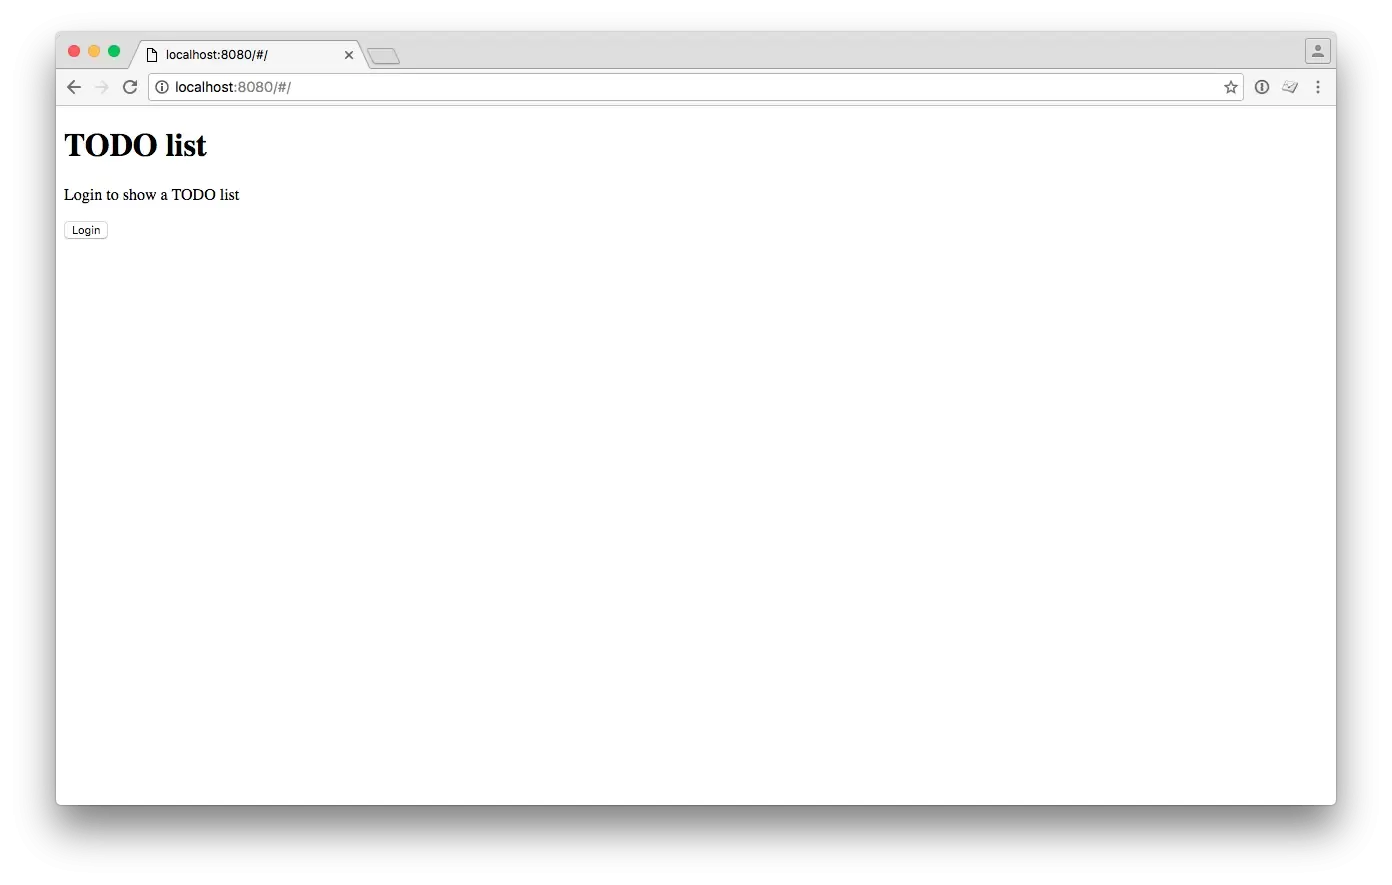
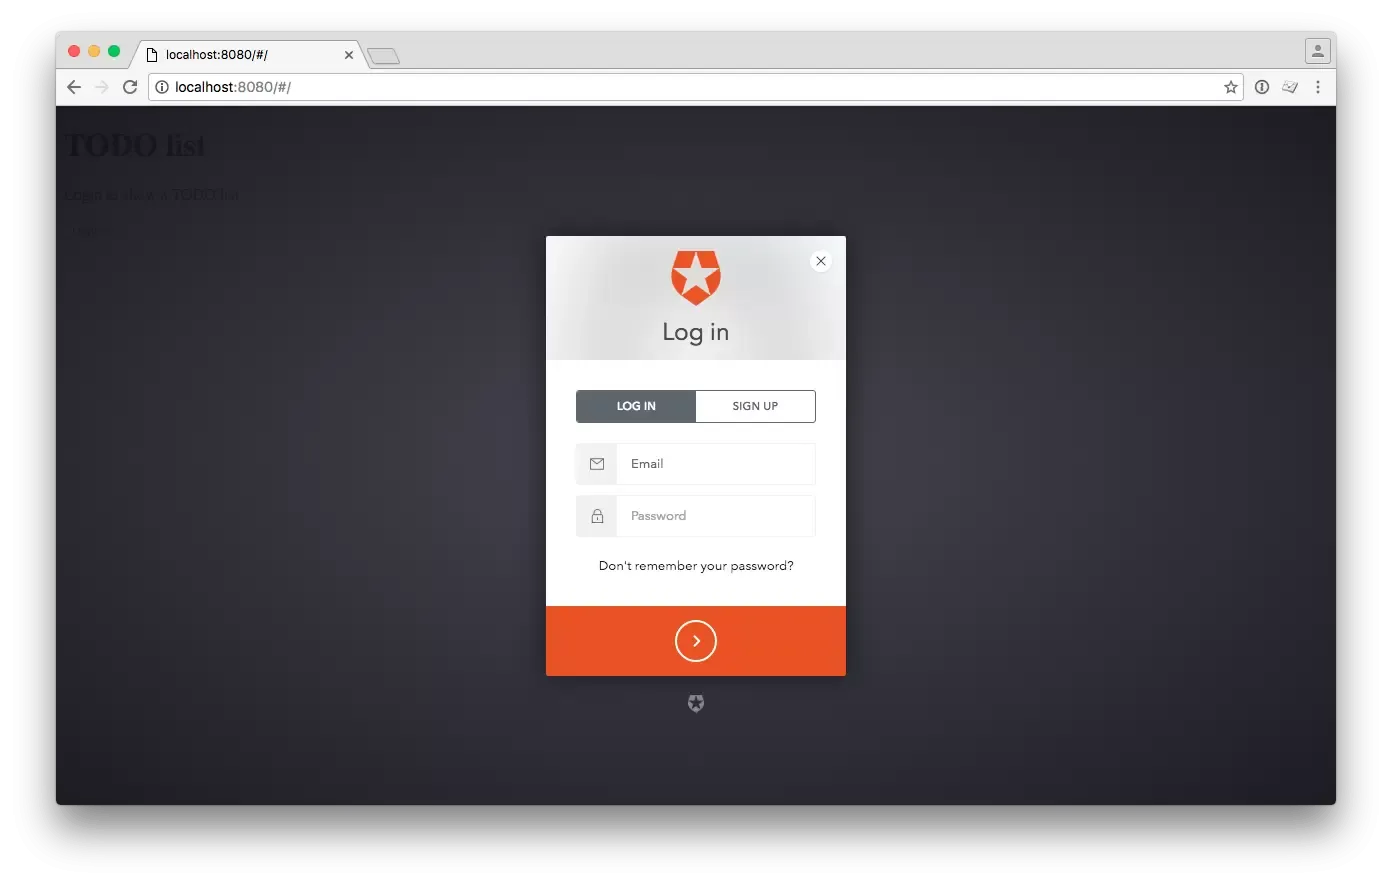
As you can see, a message is warning the user to login to retrieve a list of tasks. If we click on login button a login popup is shown:
7. Configuring the $http interceptor
With just this code we can manage the login and logout of a user but API will be responding a 401 error (Not authenticated) to every request because we are not including the token in the request.
Auth0 has simplified this part of the development creating an interceptor that will include the Auth0 token stored in localStorage so we are going to push this interceptor.
To push this interceptor and configure JWT we are doing some changes to the configuration of the app, let’s see:
// Declaring main module
angular
  .module("todoList", [
    // Injections excluded...
  ])
  .config(function (authProvider) {
    // Auth configuration excluded...
  })
  .config(function ($httpProvider, jwtOptionsProvider) {
    // Configuring JWT.
    // We assign to tokenGetter a function that returns the token stored. In our
    // case, this function is called authSvc.getToken();
    // We also configure the route to redirect a user when a 401 is produced.
    // We finally add localhost to the list of whiteListedDomains because
    // otherwise our request will be blocked.
    jwtOptionsProvider.config({
      tokenGetter: [
        "authSvc",
        function (authSvc) {
          return authSvc.getToken();
        },
      ],
      unauthenticatedRedirectPath: "/",
      whiteListedDomains: ["localhost"],
    });

    // Adding jwtInterceptor to add token automatically to every request.
    $httpProvider.interceptors.push("jwtInterceptor");
  })
  .run(function (authManager) {
    // Check auth on every refresh
    authManager.checkAuthOnRefresh();
    // Redirect the user to the website configured above when API returns a 401.
    authManager.redirectWhenUnauthenticated();
  });
We have also added some code to our .run() method. In this code we are using authManager to check the login on every refresh and to redirect the user when API returns a status 401 to the route configured in unauthenticatedRedirectPath.
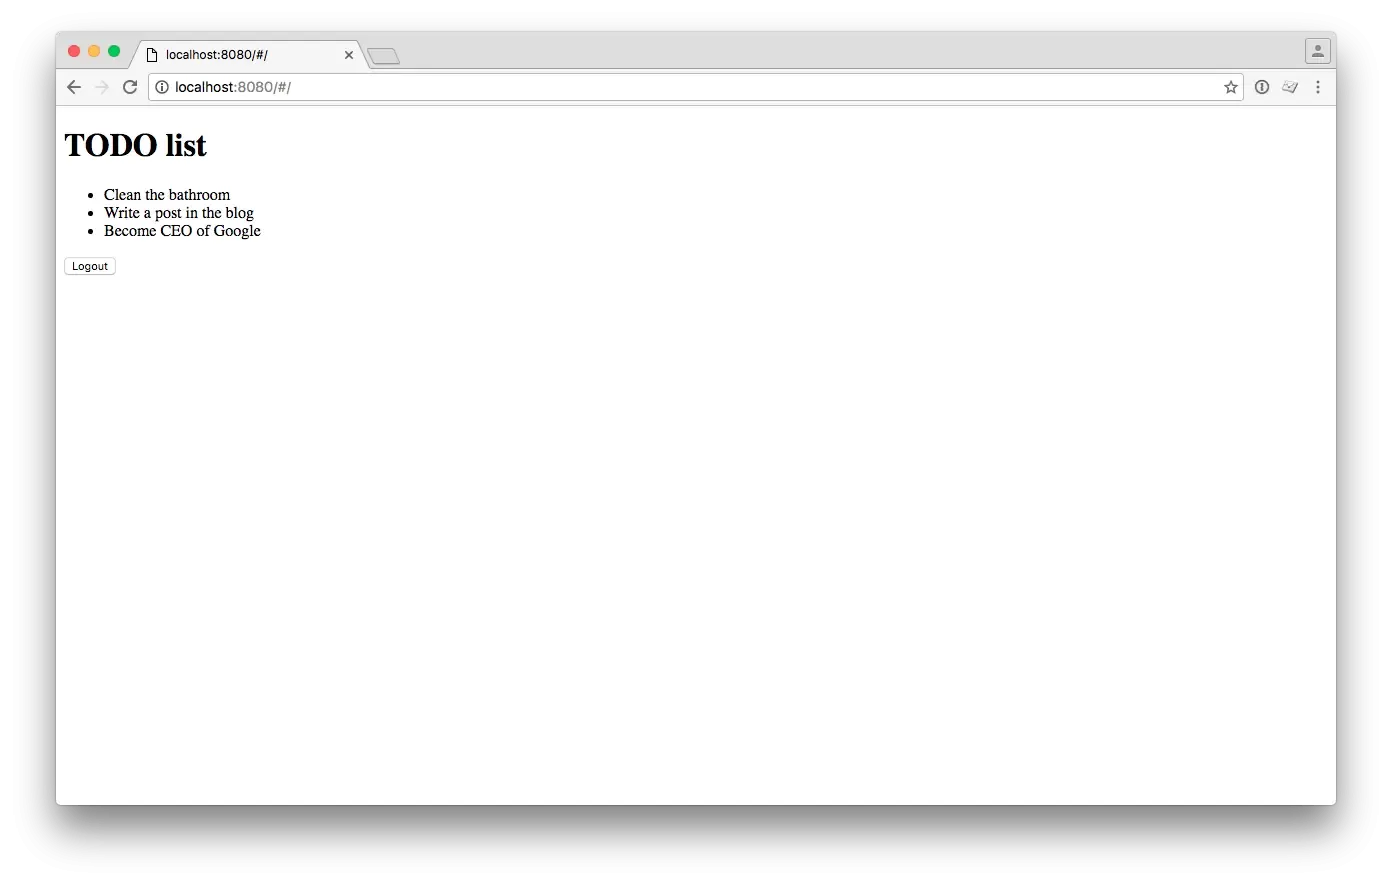
8. Example finished!
This is the result of the website with the user correctly logged in:
Extra development
In order to make it easier to deploy and see this example, I’ve created:
- An ExpressJS app to server the website
- A simple script in package.json to launch both the API and the website when running “npm run start”
Conclussion
Thanks to the integration of Auth0, with just a few steps you can setup a login/logout system for an AngularJS website and an ExpressJS API.
Of course, there is a lot of features that I’ve not explained in this article but this is because I’ve preferred to focus in a quite simple example and leave extra configurations for another article. If you want to know more about Auth0 and its features, take a look to the main documentation.
I’ve also shared the code of this example in Github, if you have any question, feel free to ask in the comments below, I’ll be glad of helping you.
· Adrián Gómez
Powered by Astro + TailwindCSS + Markdown