Create a LAMP server using an AWS EC2 instance

Photo by Lars Kienle on Unsplash · 21/7/2018
In this article I’m going to show you how to easily create a LAMP server in an EC2 instance in Amazon AWS. You need an AWS account to follow this tutorial and don’t worry about the price of Amazon instances because we are going to use its free tier instance.
Simplifying, a LAMP server is used to host your websites, it uses: Linux, Apache, MySQL and PHP as a stack, and it is broadly used to host CMS like WordPress or others. Let’s see how to create one.
Creating an EC2 instance
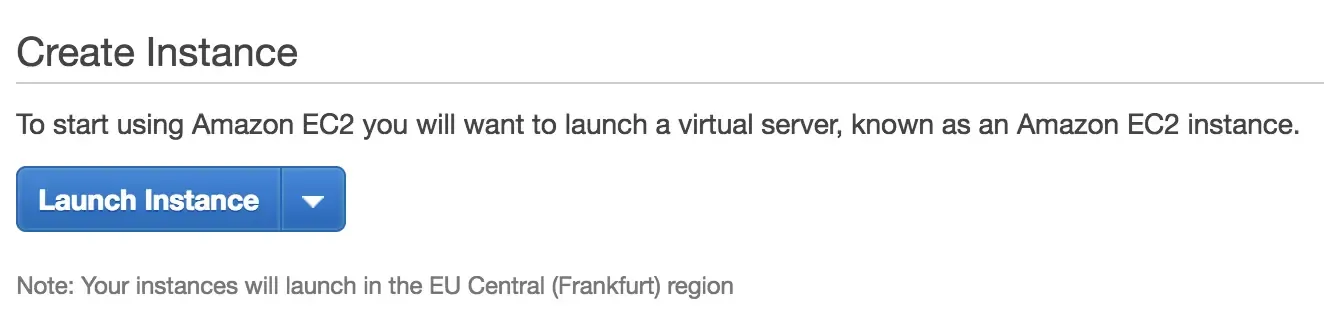
Open your AWS Amazon account, sign in and click on EC2 instances. Click on Create your instance to start the process:
- Choose Ubuntu Server 16.04 LTS
- Choose a t2.micro (Free tier eligible)
- Click on Review and Launch and Launch
- Select “Create a new key pair”, set a name like “my-instance-key” and click on “Download Key Pair”. This key should be saved because it will be used to connect to our instance using SSH.
- On the sidebar, click on Security groups, choose your recently created group and click on “Edit inbound rules”. Click on Add Rule > Choose http > Click on Save.

Installing dependencies
We have created an instance following previous steps, click on “View instances” or go to your EC2 > Instances to see your running instance. Your instance should be running (it may take a few seconds). Click on it and copy the IPv4 Public IP from the description shown below.
Let’s connect to the instance. Open your terminal and use this commands:
ssh -i <downladed-key-path> ubuntu@<your-ip>Upgrade your dependencies and instal MySQL
sudo su
apt update && apt upgrade
Let’s install MySQL. After running next command, the installation process will request a root password. Choose wisely and write it down because it will be needed.
apt-get -y install mysql-server mysql-clientNow we should install Apache2.
apt-get -y install apache2Finally we should start PHP 7.0 and its dependencies with Apache2 and MySQL
apt-get -y install php7.0 libapache2-mod-php7.0 php7.0-mysql
service apache2 restart
Finally we should create a database in MySQL:
mysql -p
# Enter your root password
create database wordpress;
This is all we need to have a LAMP server. Next step, installing a CMS like WordPress. Apache will be working with a default configuration.
Deploying an example blog using Worpress
In these steps I’m going to use the MySQL root user, this is not recommended because it is a security issue, you should create a new MySQL user and grant privileges on the database needed.
Let’s download WordPress, install it and grant privileges:
cd /var/www
rm -rf html
wget https://wordpress.org/latest.tar.gz
tar -xvf latest.tar.gz
mv wordpress html
chown www-data:www-data -R ./html
If everything goes ok, you should be seeing the WordPress intallation process if you visit the IP of your instance in your browser.
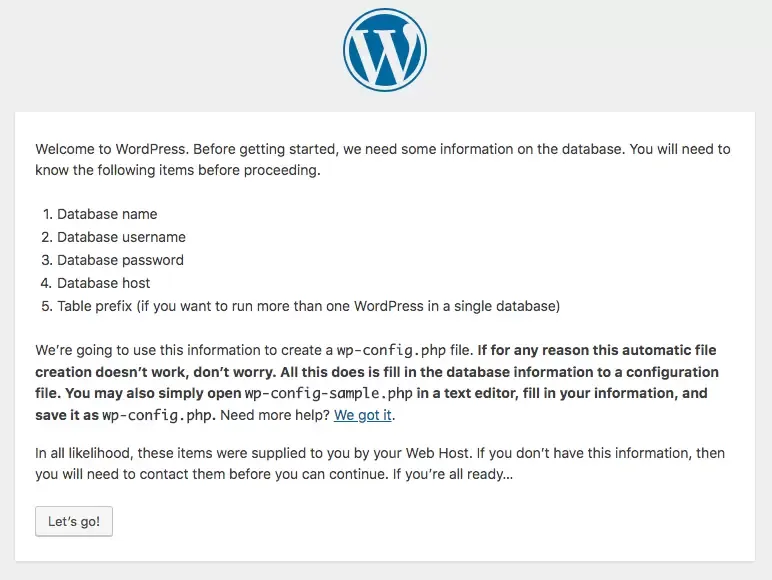
You may continue from here installing wordpress. Let’s set the database information like this:
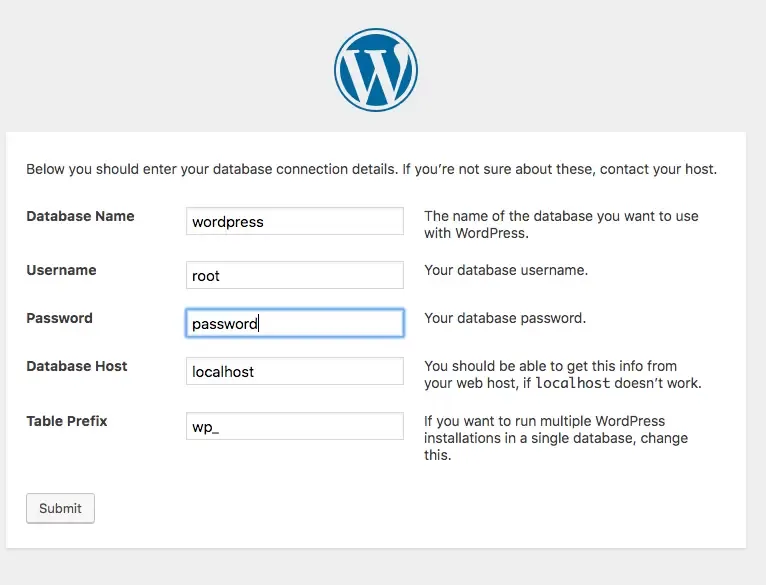
If everything is OK you should have your WordPress running on your ip. Now you may use Cloudflare to create an “A” entry to point your domain name to the IP and you’ll be ready to go.
· Adrián Gómez
Powered by Astro + TailwindCSS + Markdown